Getting Rid of That Purple or Pink Edge Fringe in Just One Click with Lightroom
If you see those nasty pink/purple or green lines around the edges of your image, especially visible sometimes after you apply some serious post-processing, you may be able to get rid of it with just one click (especially if it’s a Rawmage). Here’s how:

Above: Here’s the original image, and if you look at the mountain in the top right, you can see a bit of a glow (which we’ll cover on another day — I’ve got a very reliable way to remove them), but if you zoom in close, you’ll see there’s another problem.

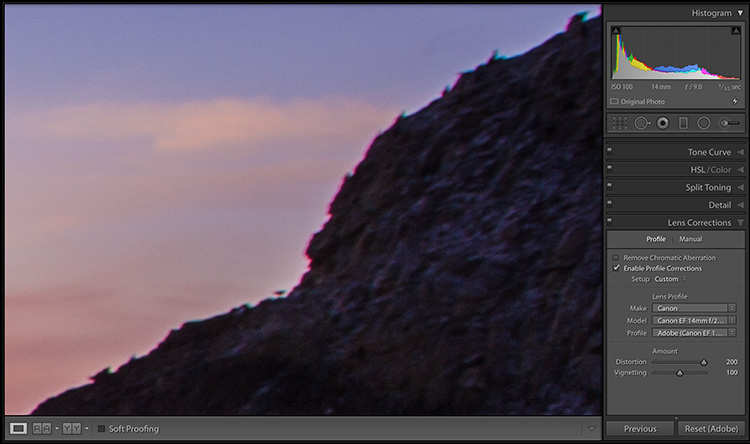
Above: When you zoom in to 300%, you can see the Chromatic Aberration problem this image has — the magenta/purple and green lines around the edges of the image.

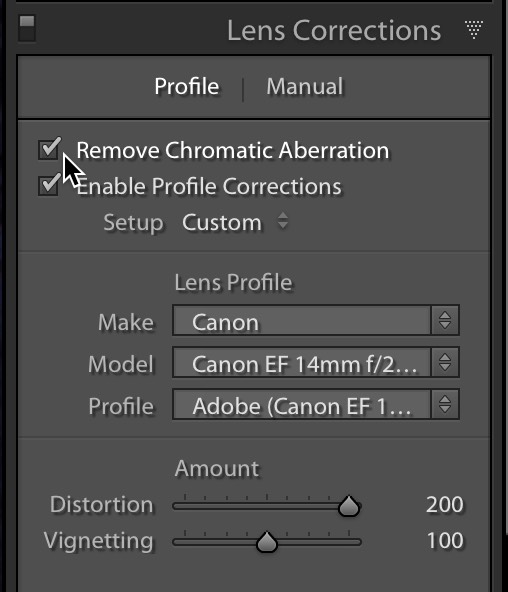
STEP ONE: In many cases, all it will take is to go to Lightroom’s Lens Corrections panel and turn on the “Remove Chromatic Aberration” checkbox (as shown above).

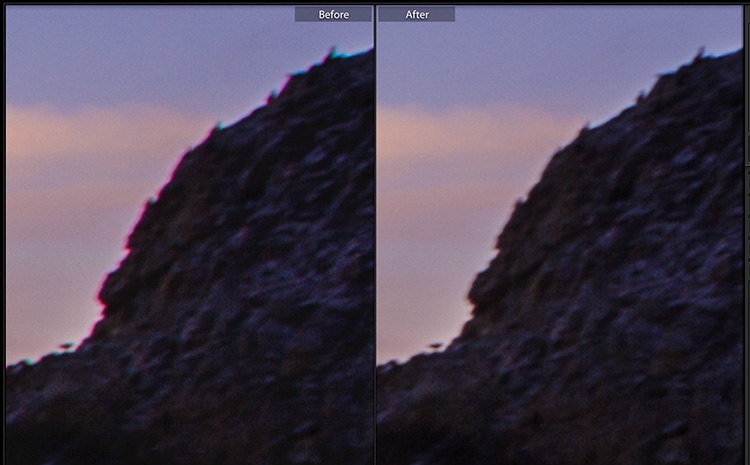
Above: Here’s a close-up before/after from that same image with nothing more being done than turning on that one checkbox. Again, this will often do the trick all by itself, but there will be times when this alone won’t do the trick, and in that case, watch this video below for a manual way to deal with these edge fringe issues.
If that first method didn’t do the trick, this one above probably will.
Have a kick-butt Monday, everybody!
-Scott
P.S. The iPhone Photography Conference kicks off today with over 1,000 photographers from all over learning how powerful their iPhones can be for serious photography. Today is Pre-Conference day, so it’s not too late to join (and get the entire two-day, two-track conference achieved for a full year to stream on demand) over at kelbyonlive.com – it’s going to be an incredible event – come see what all the excitement around shooting with the iPhone is all about.


