New Update for Syncing Catalog to Cloud
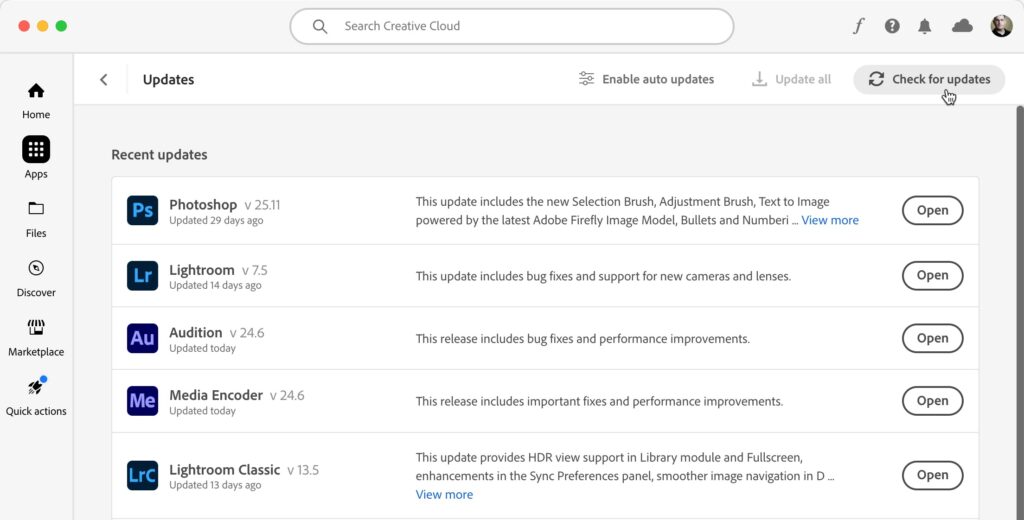
The August update for Lightroom Classic, version 13.5, included an improvement to the way we can manage files that get stuck syncing. If you haven’t synced your Lightroom Classic catalog, but are curious about how to do it, be sure to check out my previous post on how to get started syncing. Also, be sure you’ve updated to the latest version by checking for updates in the Adobe Application Manager.
Now, if you never experience syncing issues, then high five, you are living your best life. For the rest of us, sometimes, for reasons I do not know or understand, some number of photos just seem to be stuck syncing for (ever) a long time. I had this recently happen to me, so here’s how you can now try to resolve that situation.
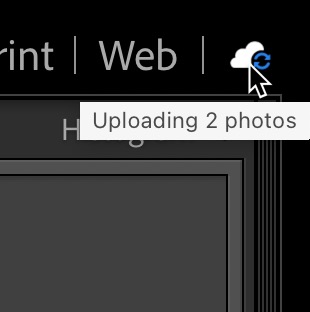
First, check the cloud icon to see what’s up. If it is in mid-sync you’ll see a blue syncing icon and if you hover your cursor over it a tooltip will appear showing how many photos are being synced.
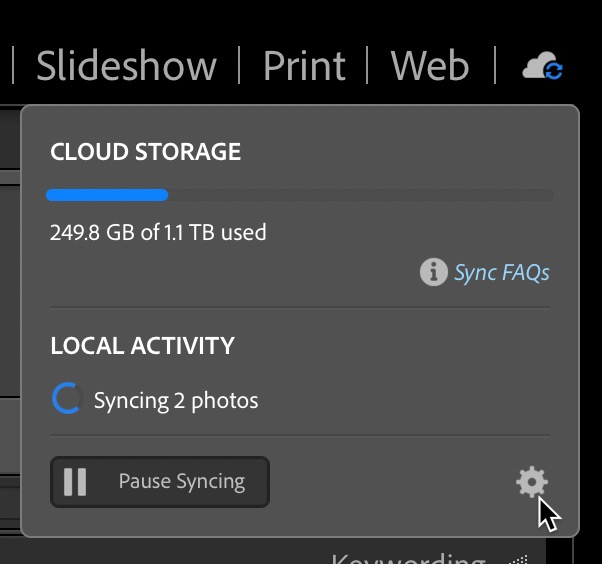
If it seems like this has been going on for some time the simplest thing can be to close and restart Lightroom Classic, which can be enough to clear the clog. If that doesn’t work, and you want to take matters into your own hands, click the cloud icon to open the cloud storage window and look for the gear icon.
Click that gear icon to open the Lightroom Sync tab of the preferences and see what’s displayed in the Sync Activity section (this was restored with the recent update).
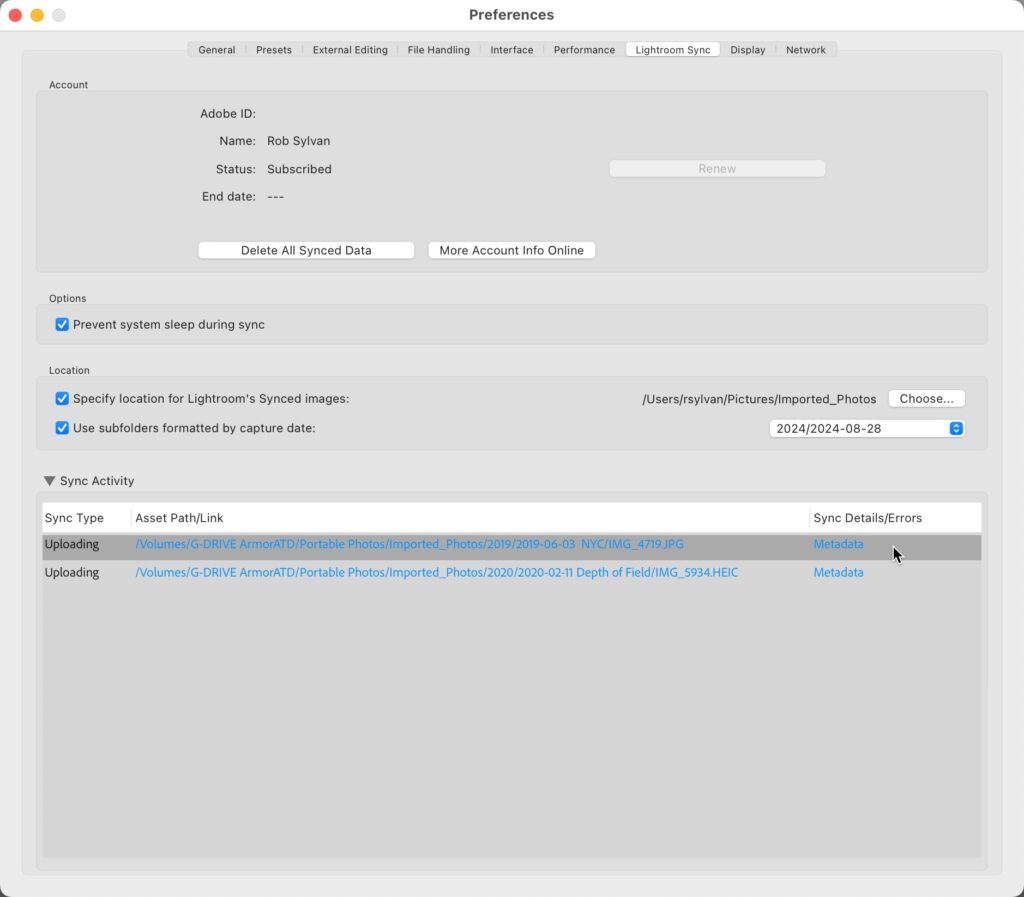
If you’re not sure what photo is stuck, click that blue link to view that photo in Grid view of the Library showing the photo within its containing folder. Don’t delete the photo from here unless you want to delete the photo entirely from your catalog and hard drive. If you just want to remove it from being synced to clear that (and resync later if you choose) there are two ways to do this now. First, the old fashioned way, which is to leave the problem photo selected and go up to the Catalog panel and click All Synced Photographs.

By leaving the photo selected you’ll see it is still the selected photo when viewing the contents of All Synced Photographs. If you think you will want to add it back to a synced collection later, an easy way to find it again is to drag it to the Quick Collection in the Catalog panel. Now, press Delete to remove it from being synced while leaving the source photo to remain in your catalog. You’ll see this popup telling you what will happen.
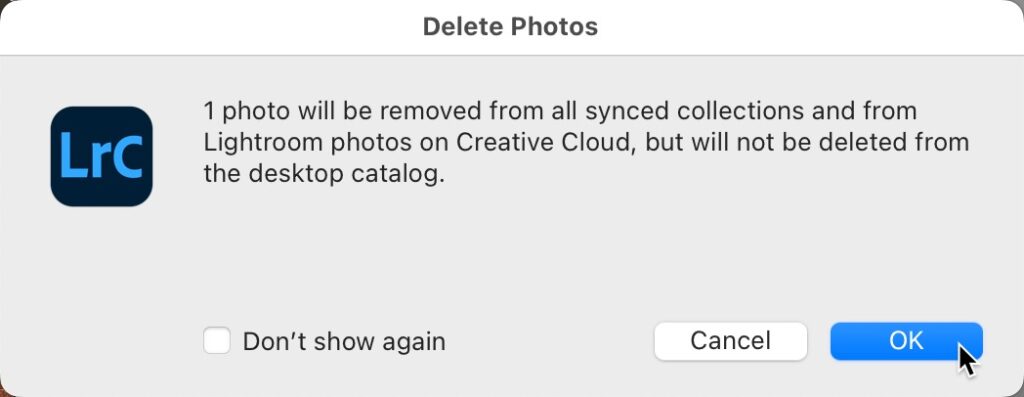
Click OK to complete the process. The photo will be removed from all synced collections, which is important to realize what that means. In other words, it will clear it from being stuck syncing, but if you had it in more than one synced collection it will be removed from all of them. So make sure you know which synced collections it was in before you hit the delete button if you plan to add it back them all. In my case, this was an old photo that I no longer need synced, so just removing it from being synced solves my problem. Repeat for any other stuck photos and you should see the Sync Activity area clear out.
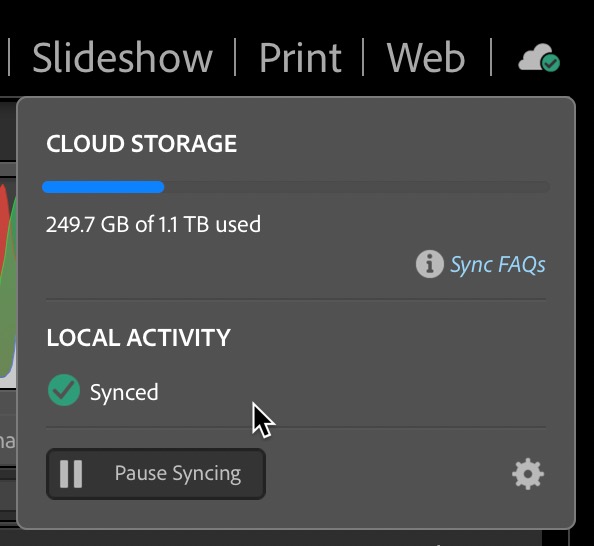
The cloud icon will change to a green check mark showing everything as synced now.
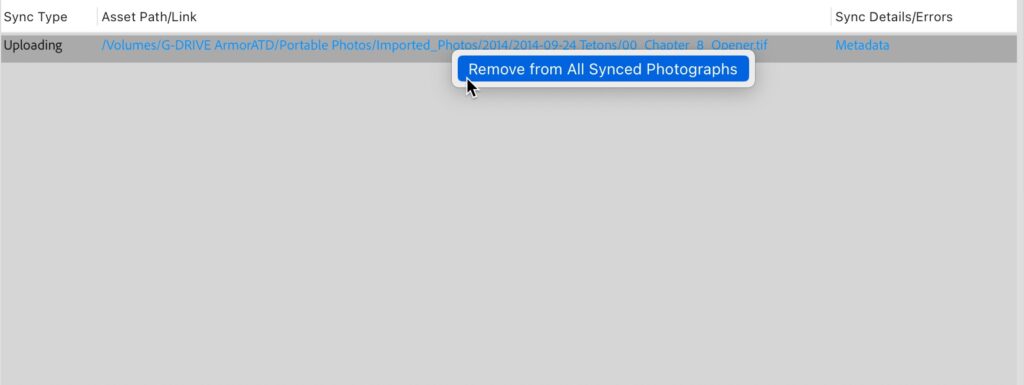
Here’s the second, and much simpler way to remove a photo from being synced thanks to this latest update. You’d only use this option once you knew what photo it was (click the link to check) and if it was in more than one synced collection that you may want to add it back into later. Once you know you want to remove it from being synced, just right-click that blue link and you’ll see a new option to Remove from All Synced Photographs. This is just a short cut from the first method I showed above, but it does result in a different looking popup message you have to click through before it is done.
Hope that helps anyone with a photo stuck in the endless sync loop. To add it back to be synced, just drag it back to the synced collection it was in before (cross your fingers) and it should sync successfully.


