Sizing Photos for Uploading Prints
I regularly get questions pertaining to image sizing in the context of making prints of a given dimension in inches. The conversion from pixel dimensions to a physical print at a given size has always been a confusing one. Let’s say you have a photo (or a series of photos) that you want to upload to some online print service for the purpose of making square prints of 8 inches x 8 inches (fill in whatever print size you prefer). The first decision you need to make to perform the conversion from pixel dimensions to inches is how many pixels do you want to print for every inch of print, which is more commonly referred to as how many pixels per inch or simply PPI.
The number that makes people absolutely jubilant when they hear “PPI” is 300. That’s not to say that you can’t print perfectly good looking images at a PPI (or resolution) value other than 300 PPI, but you can absolutely argue with people on the Internet about it all. day. long. 😀
Seriously though, for the most common print sizes (8 x 10 and smaller) our cameras these days have plenty of pixels in them to just stick to that magic 300 PPI resolution number, create beautiful prints, and avoid wasting hours in unnecessary arguments. So, if you know your pixel dimensions of your photo … wait, what’s that? You’re not sure of how to find a photo’s pixel dimensions in Lightroom? No worries, there’s a few ways to see it.
The first is here in Grid view. Just configure the Grid view style to display Cropped Dimensions in the cell border (here’s how). It will look like this:
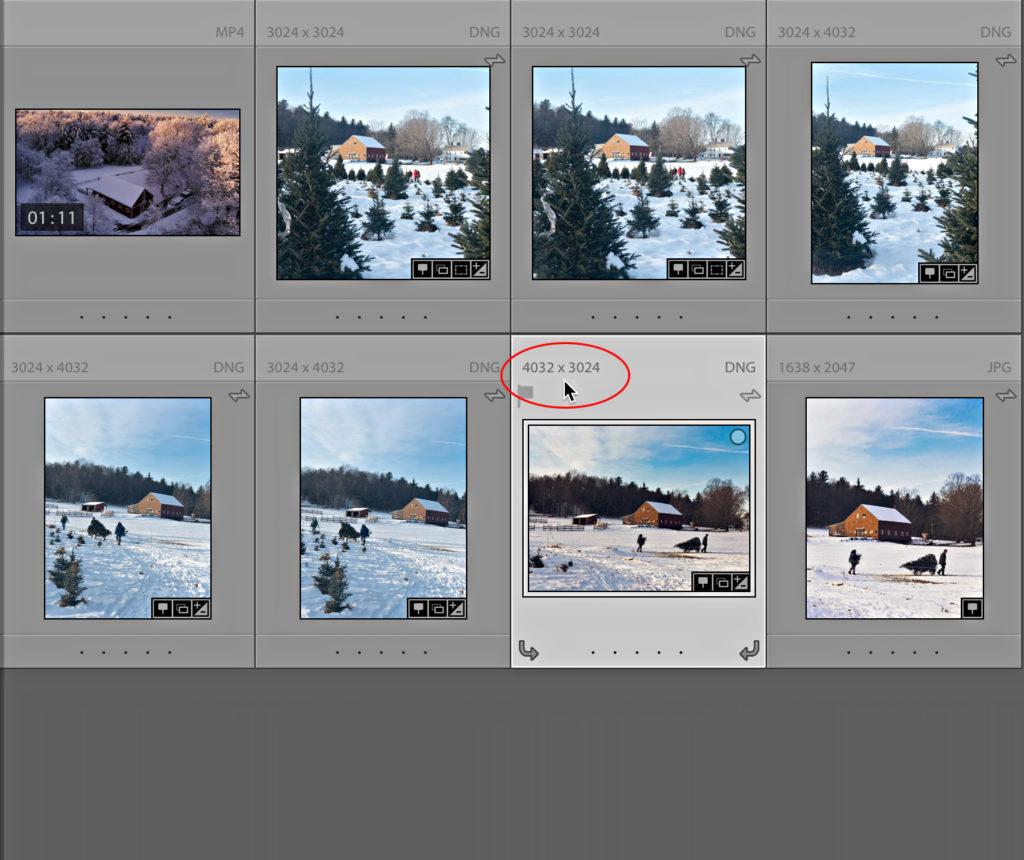
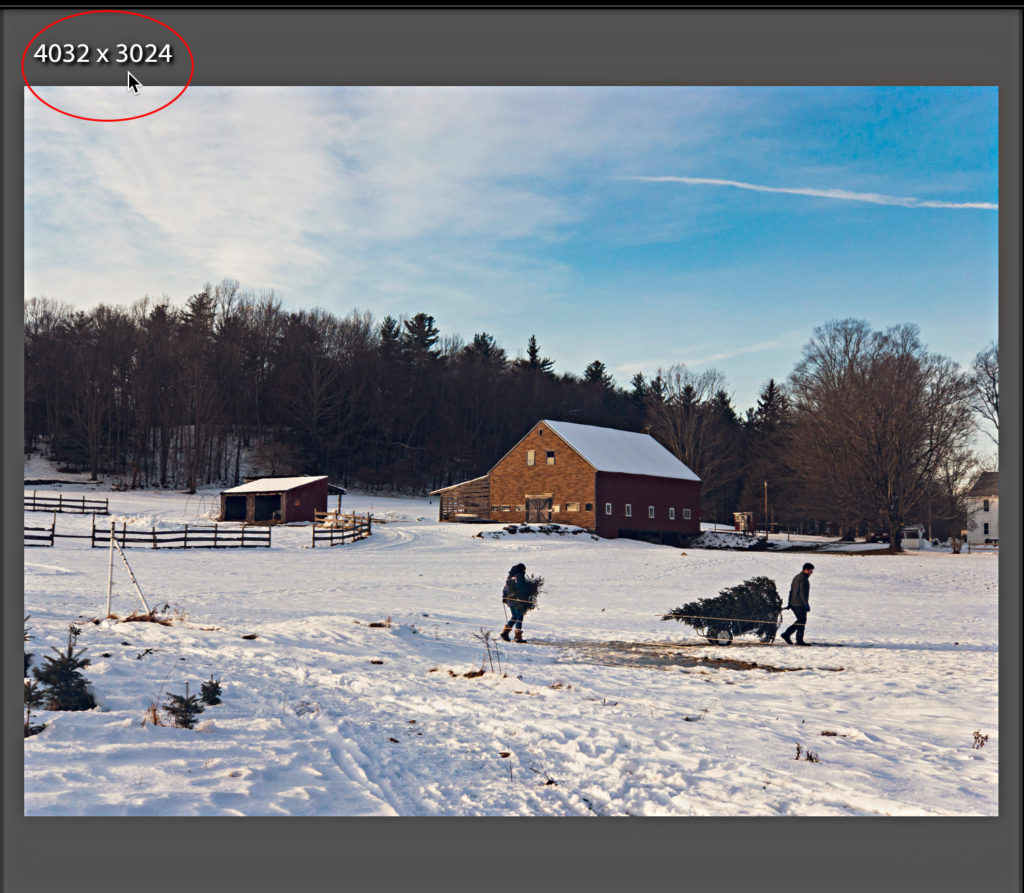
If you are in Loupe view, you can configure the Info Overlay to display Cropped Dimensions (here’s how). That looks like this:
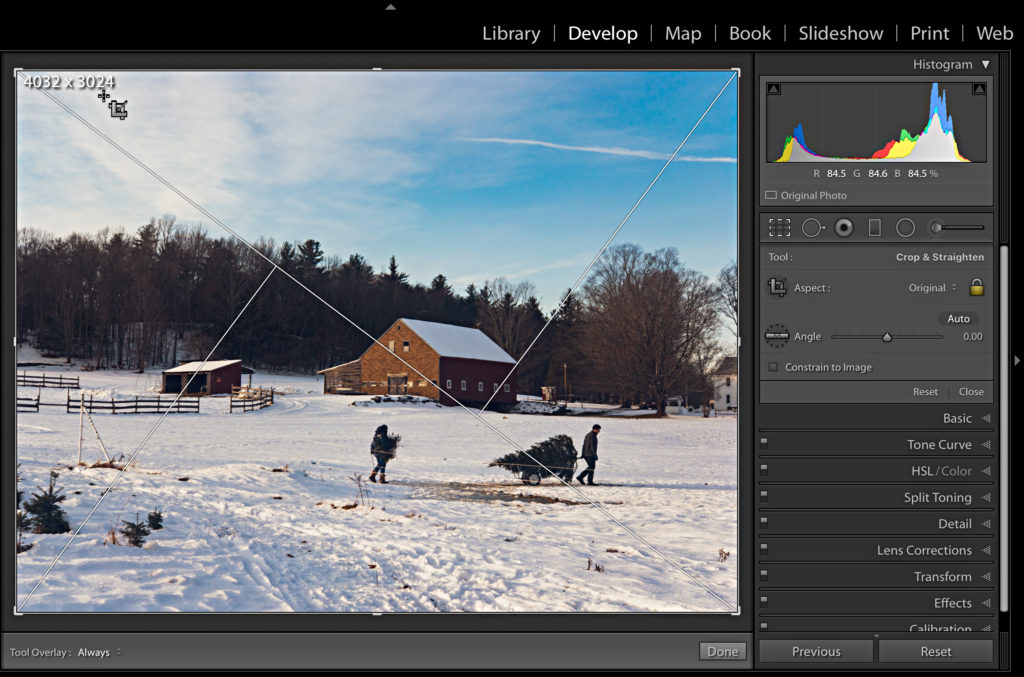
That even works in Develop’s Loupe view when you have the Crop Tool enabled, so you can see the pixel dimensions after you crop.
So, with my goal of producing a print that was 8 in x 8 in at 300 PPI, my next task would be to crop to a 1:1 (square) aspect ratio, and after doing so, my cropped dimensions change to reflect the crop.
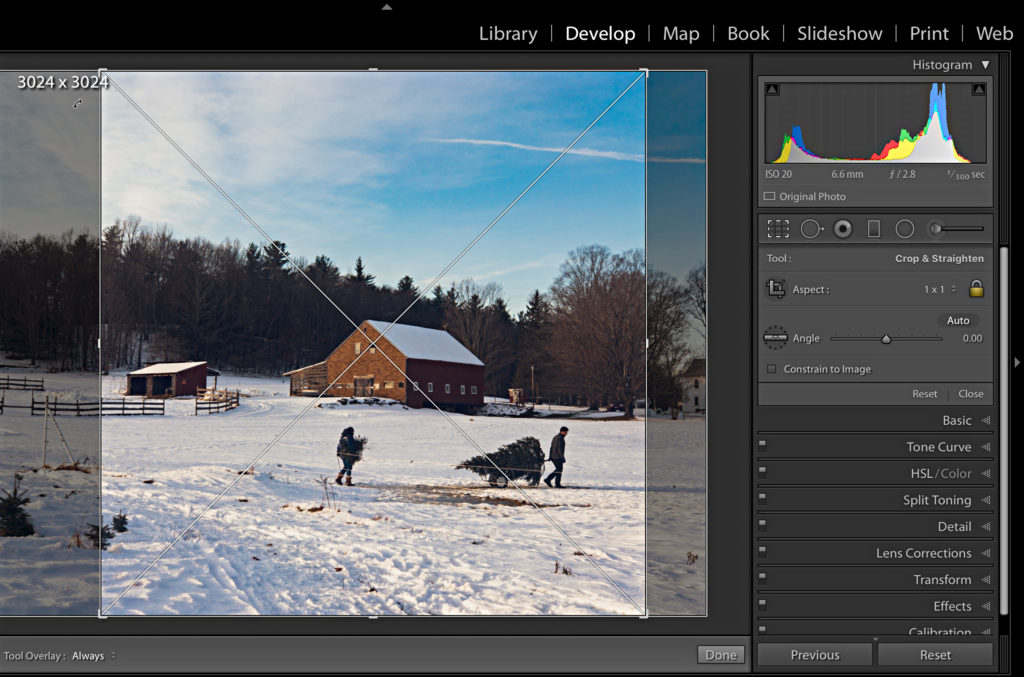
My pixel dimensions for this photo went from 4032 pixels x 3024 pixels to 3024 pixels x 3024 pixels. That’s all fine and straightforward, but the place that makes us scratch our heads is figuring out the size of the print, right? This is where a little math comes in handy. Earlier I mentioned that we are talking about how many pixels per inch of print do we want use, which gives us a clue to the math involved. The formula looks like this:
Pixel dimension / Resolution (PPI) = dimension in inches
So if I plug in my numbers I get: 3024 pixels / 300 PPI = 10.08 inches
Even after my crop I’ve got more pixels than I need to achieve my goal of 8 x 8, and that’s just a photo from my phone. To finish the job of sizing this photo to precisely 8 in x 8 in at 300 PPI my next move would be to click the Export button and configure the Export dialog to achieve my output needs. In my case my needs are a JPG with sRGB color space resized to be my desired dimensions. The key panels on the Export dialog to achieve this are in the File Setting and Image Sizing panel as shown below.
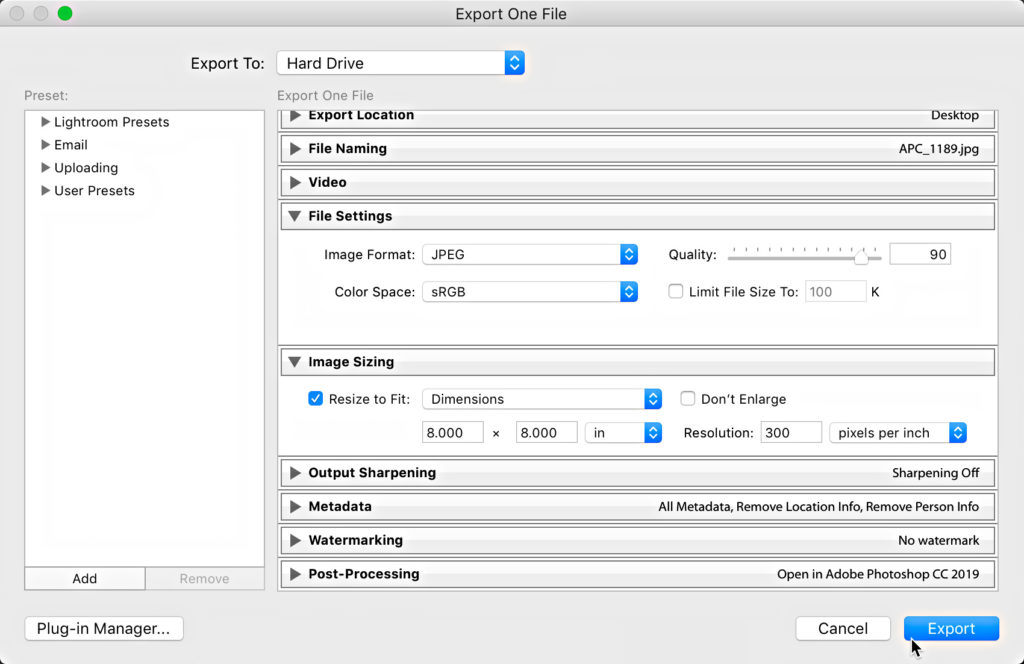
Obviously you’d configure other panels to meet your needs, but those are the two panels that will achieve your desired file type, color space, and sizing for the print. You can even set the Post-Processing step of the Export dialog to open the exported copy into Photoshop, where you can confirm sizing is correct via the Image > Image Size dialog box.
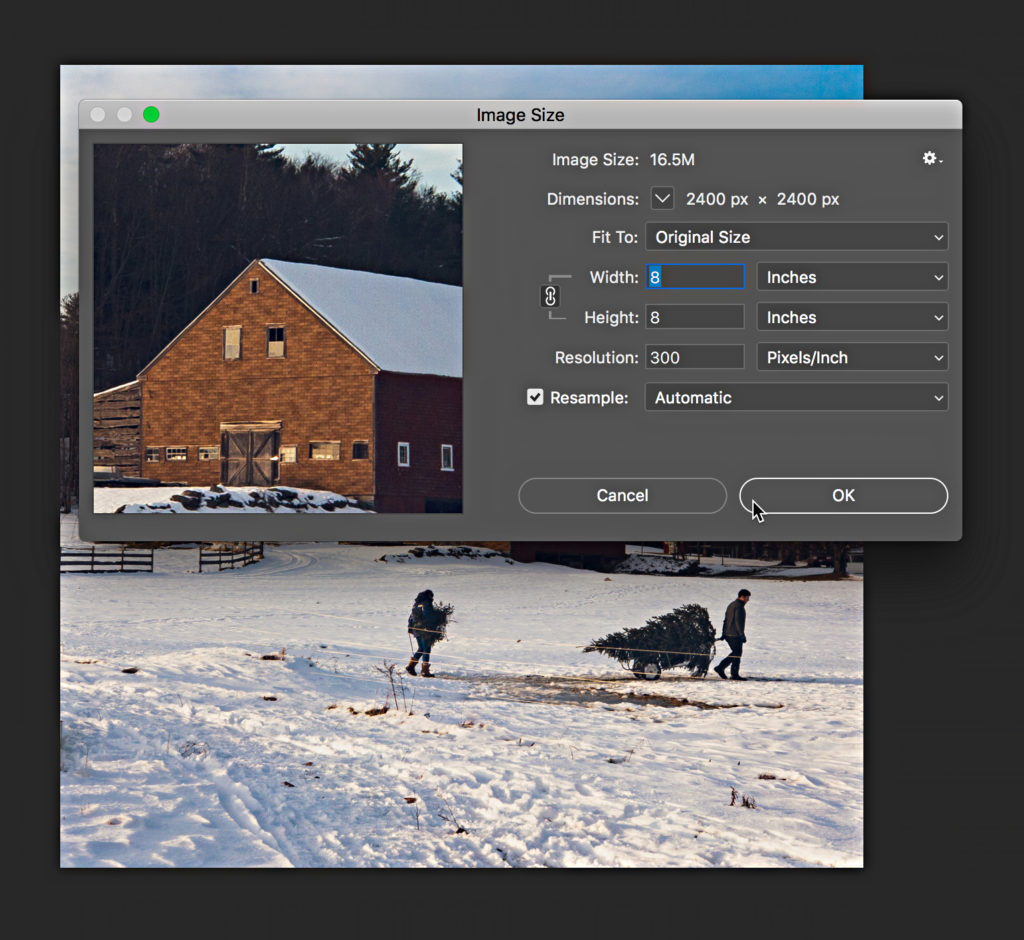
So to review:
- Choose your print size
- Know your desired print resolution (stick to 300 PPI when in doubt)
- Crop your photo to the desired print aspect ratio
- Verify you have enough pixels with a tiny bit of math
- Configure the Export dialog to save out copies at your desired specifications
- (optional) Confirm size in Photoshop
- Upload to be printed


