Here’s one from the vault — One of my readers, Stephanie Bunhc, asked “Can you create presets for cropping?” The answer is: “…you sure can!” Here’s how:

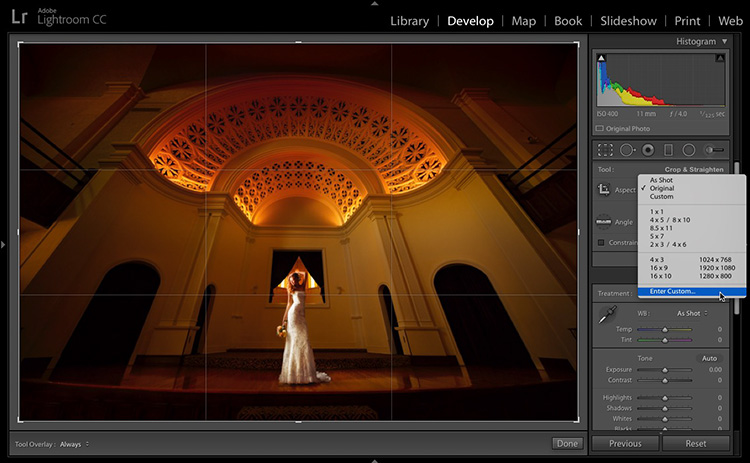
STEP ONE: Open an image, and then click on the Crop Tool (BTW: one of my all-time favorite keyboard shortcuts in Lightroom is just to press the letter ‘r’ which jumps you directly to the Develop Module [no matter where you’re at] and activates the Crop tool]). Now, to the left of the lock icon; click and hold where it says “As Shot” and a pop-up menu will appear with a list of preset cropping sizes that come with Lightroom. To create your own, choose “Enter Custom” from the bottom of the menu (as shown here).

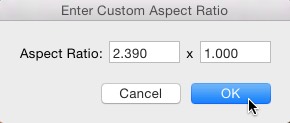
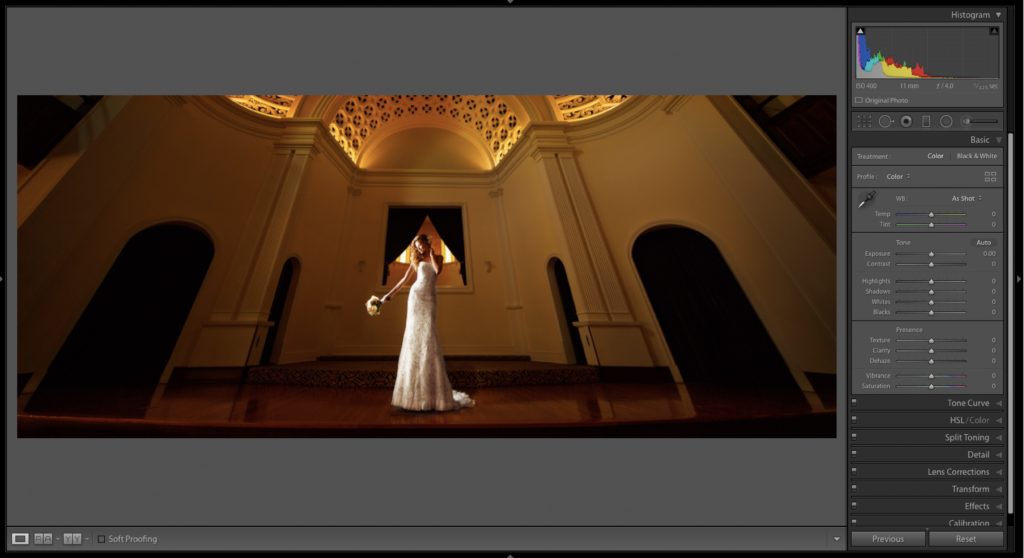
STEP TWO: That brings up the “Enter Custom Aspect Ratio” dialog box; just enter the aspect ratio you want (as shown here) and click OK. In this case, I put in 2.39 which gives you a cinematic-style wide screen crop.

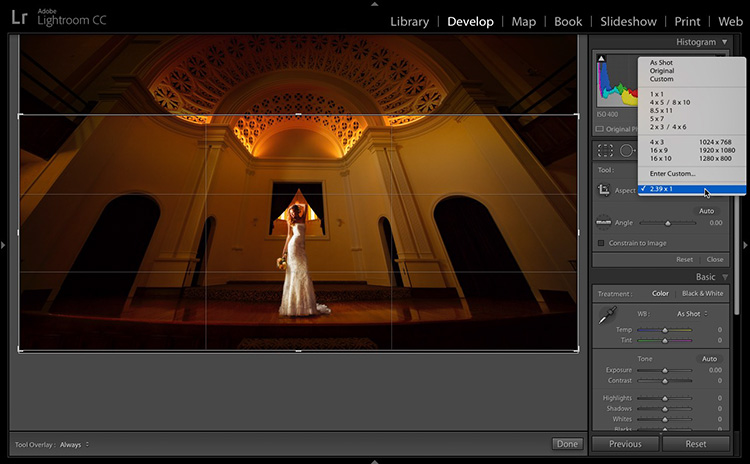
STEP THREE: Now, that cropping preset you just created will appear in the pop-down menu, at the bottom of menu below Enter Custom (as seen here). There ya go, Stephanie. 🙂

Hope ya’ll found that helpful. Let’s have a great week everybody. Stay safe, be good to everybody; love your neighbor, and I wish you all good health.
-Scott


