My 10 Most-Used Lightroom Shortcuts

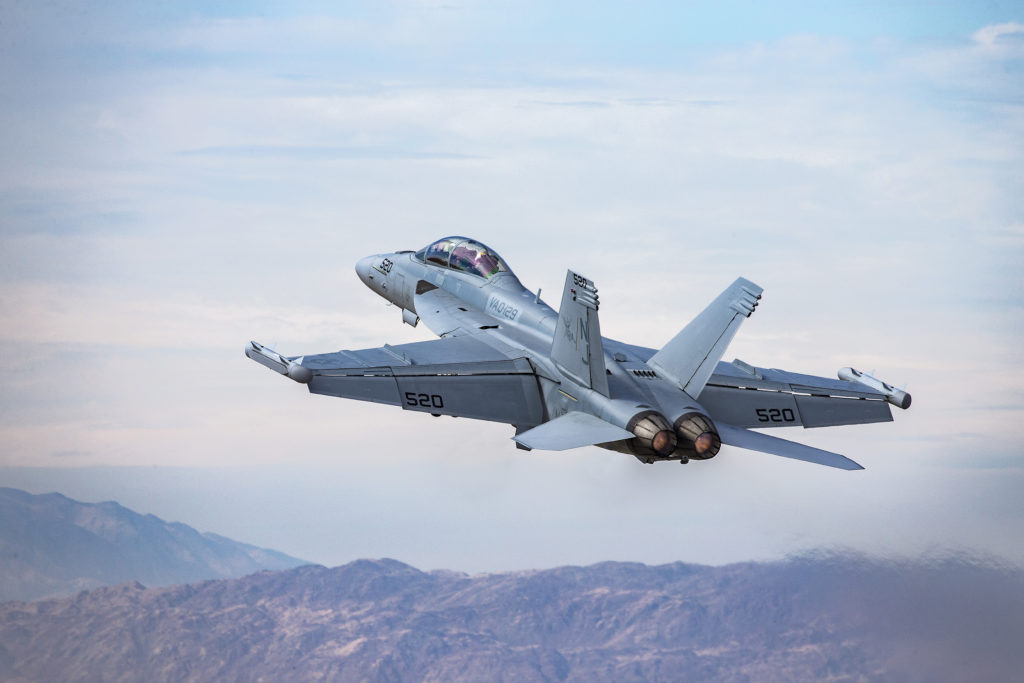
Hi, gang and happy Friday. I’m still in Texas, this time I’m down the road in Ft. Worth shooting the airshow here today with Larry Grace and the crew from ISAP (the International Society of Aviation Photographers) who are holding an event for their members here (I’ve been an ISAP member for many years now — absolutely first-rate organization. I’m looking forward to shooting the Navy’s Blue Angels today. Cannot wait!

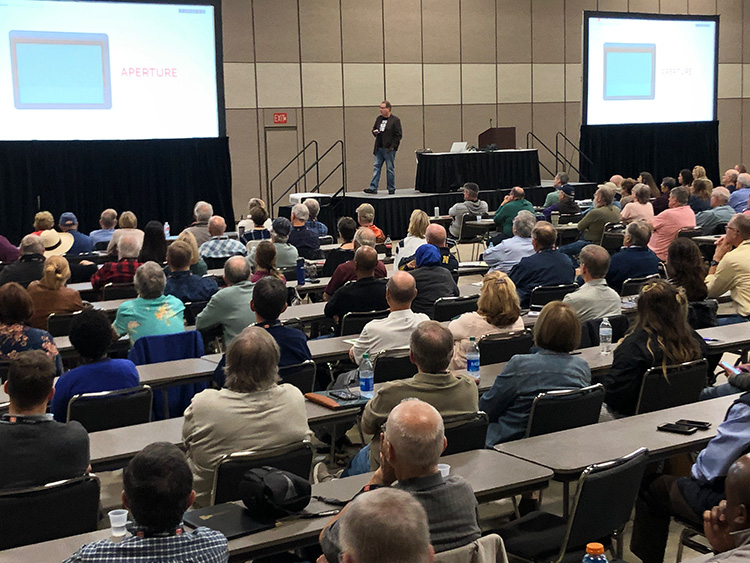
Quick shout out to all the folks who came to spend the day with me in Arlington yesterday. It was my biggest class here in about six or seven years, and it was a great group of folks. Also, check out this Texas welcome from one of my attendees. Awww, yeah!
OK, onto the shortcuts. These aren’t a list of hidden or super secret shortcuts — just those “meat and potatoes” type shortcuts that I use day in and day out. Here goes:
G – This instantly returns me to the Library Module and the Grid view of all my thumbnail images.
Shift-tab – This hides all the panels and let’s me see my image really big on screen).
D — This
Command-E on Mac (Ctrl-E on Windows) – This takes my image over to Photoshop to do some editing over there.
F – This gives me a full-screen view of my image and Lightroom is hidden from view.
P / X / U – These are the letters I use when I culling through a shoot. P marks the shot as a “Pick” (a keeper). X marks the photo as a reject (I shot I not only want to remove from Lightroom but remove from my hard drive at the same time). U is what I hit if I made a mistake or changed my mine. It “undos” my P or X.
Command-N (Windows: Ctrl-N) – This create a New Collection from my selected photos.
V – Tapping this key shows what my image would look like in Black and White, so I can see if it’s even worth going through a full black and white conversion. To switch it back to color, tap “V” again.
To Reset any slider double-click on the slider’s name. When you’re using the Adjustment Brush, to reset all the sliders to zero, double-click directly on the word “Effects.”
To change brush sizes, pressing the left bracket key [ makes the brush smaller in size, and the right bracket key ] makes it larger.
Hope you found those helpful. If you have any interesting ones that you use every day, I’d love to hear about ’em. Leave me a comment below with your most-used ones that aren’t on my list above.
Hopefully, I’ll be sharing some photos from today’s Blue Angels shoot next week. Have a great weekend everybody!
-Scott


