Ten of My Favorite Lightroom Masking Shortcuts

Here they are – my top 10 favorite Masking shortcuts (in no particular order):

Shift + O toggles you through the different Mask colors (you’re not stuck with just that red tint overlay).

When you’re using the Masking Brush the [ and ] bracket keys (to the right of the letter P) let you change brush sizes. Hitting the left bracket key makes the brush smaller – the right one makes it larger.

Press the letter O on your keyboard to hide the red overlay tint on your masked area (as shown below) .


Pressing the letter ‘n’ creates a New Mask using the same masking tool you used last, so if you were just using the Linear Gradient Mask tool, it creates a new mask and you can just start dragging to make another Linear Gradient without a trip to the Mask tools menu.

You can press Shift-W to open or hide the Masks panels.

Press the letter “h” on your keyboard to hide the Mask pins on your image from view.

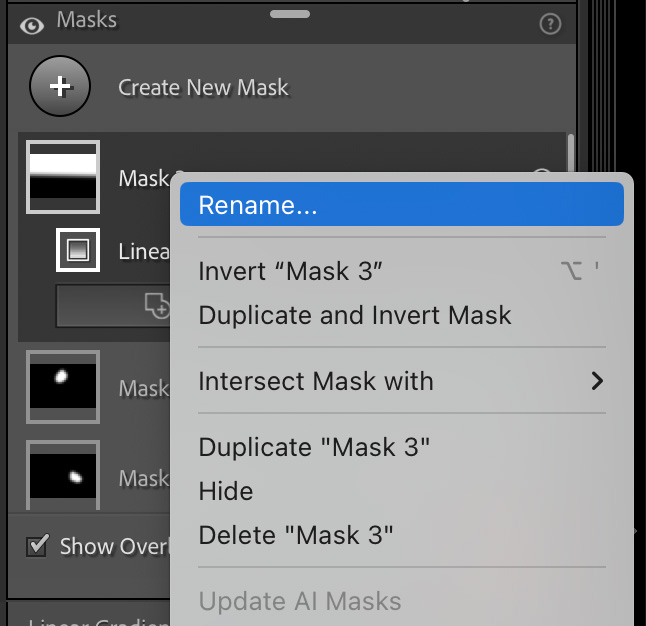
To give your mask a Mask, in the Masks panel right-click on (or Ctrl-click on Mac) on any Mask and from the pop-up menu that appears, chose ‘Rename‘ (as shown below).


Press the [ ‘ ] apostrophe key to invert your mask.

Press ‘m’ to get one of my most-used masking tools: the Linear Gradient (probably my #1 most-used is the Brush).

Switch the Brush tool to the ‘Eraser’ Brush – hold the Option key (Mac) or Alt key (PC).
There ya have it. Hope you found those helpful. 🙂
The Worldwide Photo Walk is Almost Here

Saturday, October 7, 2023 all around the world – it’s free, it’s fun, and it’s all a great cause (to support the Springs of Hope Orphanage in Nakuru, Kenya. Sign up for a photo walk near you at worldwidephotowalk.com – see you there!
Have a great weekend everybody! #RollTide and GoBucs!
-Scott


