While Scott’s away the mice will play! (and Tip #11)
Actually, he’s taking a well deserved holiday, so I thought I’d sneak in here and share a few extra tips beyond my regular Wednesday post (shh, don’t tell Scott he’s been up all night playing Call of Duty and needs the rest).
I looked back to my very first series of posts I made here in 2015, which were 10 More Things I Would Tell a New Lightroom (now Classic) User, done in a series of, well yes, 10 posts. I looked back over them, and six years later I think they still stand:
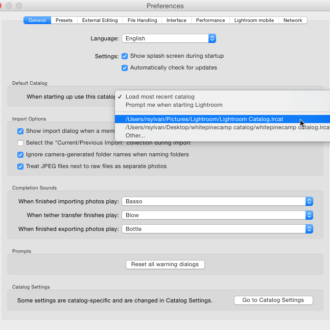
- Set default catalog
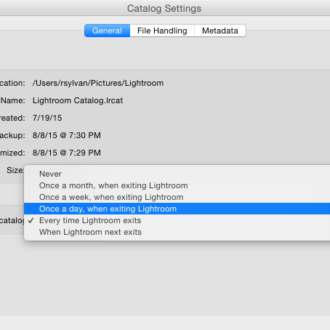
- Use Built-in catalog backup function
- Know how to restore from a catalog backup
- Know how to find your folders and photos on disk
- Ctrl-click/right-click is your friend
- Use Lightroom (Classic) to move photos between folders
- Know your screen modes
- Customize Grid view to your needs
- Learn how to use smart collections
- Don’t sell Quick Develop short
So, today, Thursday, and Friday, I will share three more things I would tell a new user, and then we’ll check back in 6 years and see if they still hold up. I’m very grateful for having the opportunity to share tips with you all over the years, so these extra posts are just a little thank you from me.
#11: Customize Raw Defaults
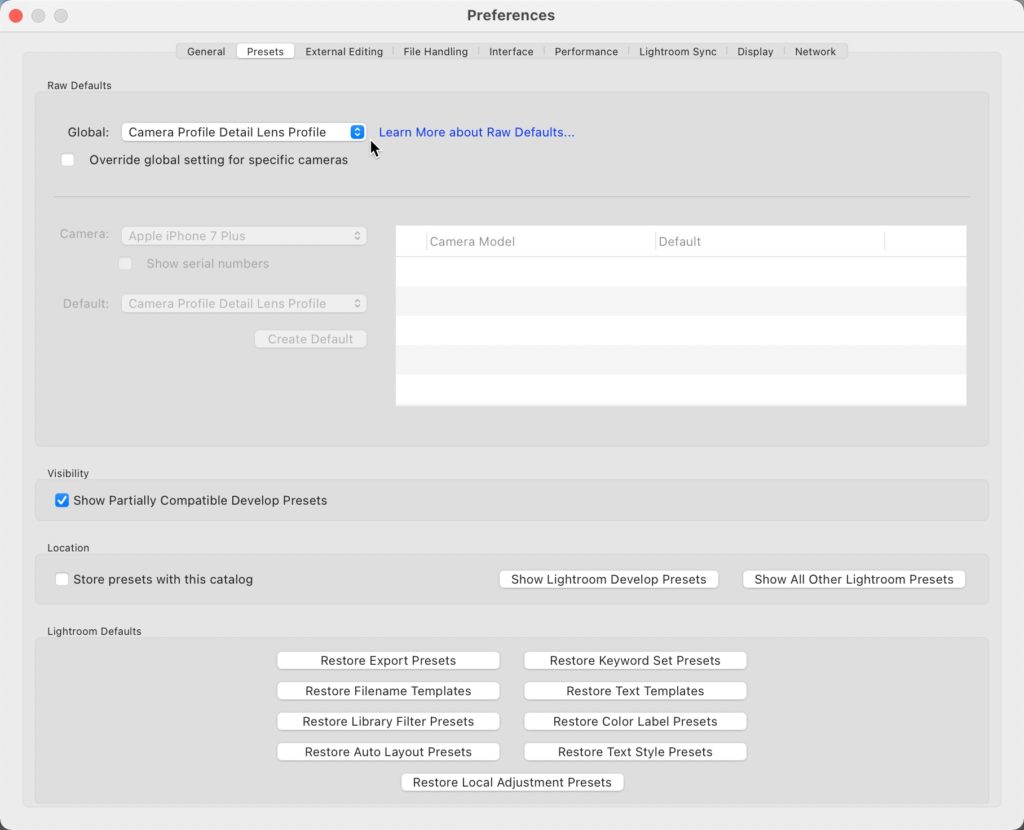
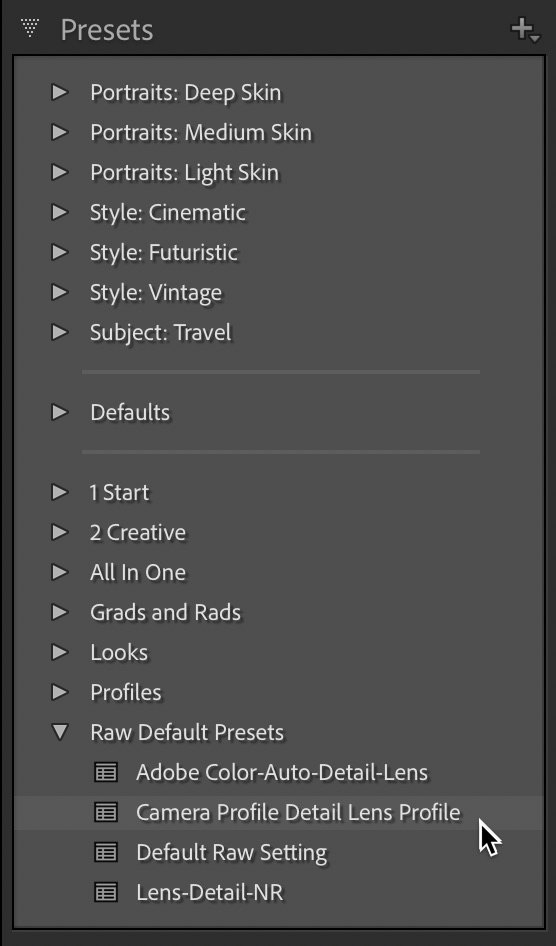
I have written about how to set your Raw Defaults in the past, but it definitely needs to be on this list.
The Raw Default setting determines how your raw photos will look the moment Lightroom Classic updates the preview (post-import) or when it lands in Develop for the first time (like if you are shooting tethered right into Develop).

If there are settings you always apply to all photos, then why not include them in your Raw Default, and just set it and forget it? For example, these days I love having my photos come in with lens profile correction already applied, chromatic aberration removed, a slight tweak to the default sharpening settings, and the camera profile matching the picture style I chose in-camera. For me, that is my preferred starting place, so I created a preset with those settings, and then set it as my Raw Default. Easy.

Now, there are a couple of things to keep in mind with the Raw Default:
- It only applies to raw photos (duh)
- It determines the behavior of the Reset button (as in, when you click Reset, your Raw Defaults determine the default/reset state)
- It doesn’t change previously imported photos (unless you click the Reset button on them)
- It can be changed/updated over time as your workflow evolves
So, give it some thought, and see if it saves you a few clicks for every raw photo imported from this point forward. Stay tuned tomorrow for the second part of my Plug-in Workflows with Lightroom Classic post.


