Managing Develop Presets After the 7.3 Update to Classic
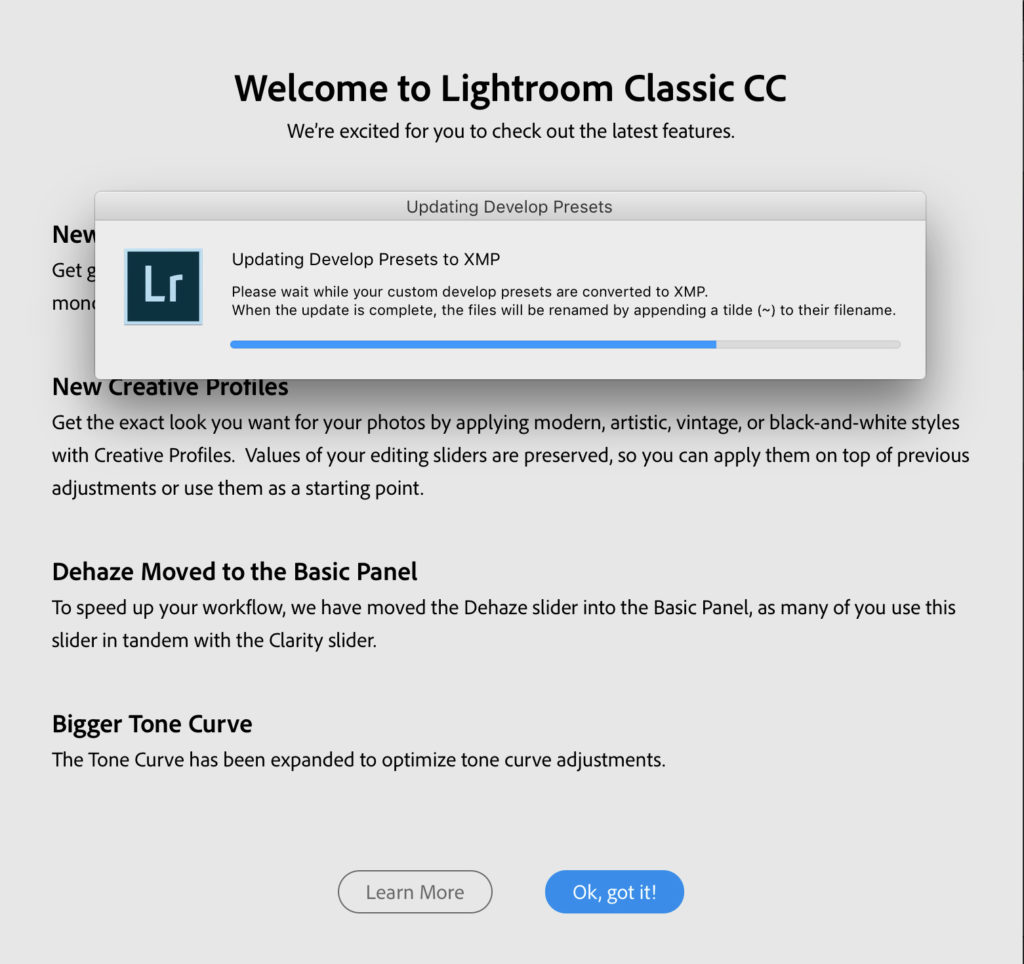
The latest update to Lightroom Classic has a lot to love, as Scott shared yesterday. I think the profiles are a huge step forward. One of the new features that didn’t get a lot of attention though was the changes to Develop presets. First, upon launch of 7.3 you probably saw a somewhat strange message about updating develop presets to XMP, which may have left you scratching your head.
What it did was convert your existing custom Develop presets to a format compatible with the Camera Raw plug-in, and then copied the XMP versions to a folder shared with the Camera Raw plug-in, so now your custom Lightroom Classic presets are available inside the Camera Raw plug-in. The few presets I had in Camera Raw are now showing in Classic too (inside the User Presets folder). That’s actually pretty cool.
Note, it left the original custom presets where they were, but appended a ~ to the front of the file name to remain backwards compatible with older versions of Lightroom Classic (should you still have an older version installed).
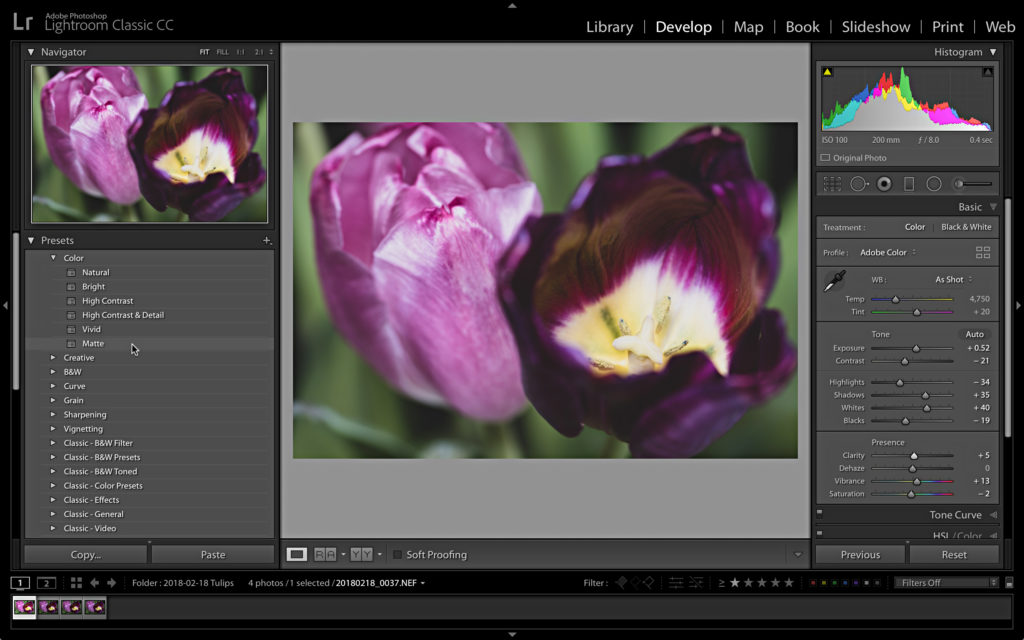
The really cool change that slipped under the radar is that you now get a full screen preview of a preset simply by hovering your cursor over the preset. The Navigator still changes too, but who needs that when you have the main image updating?
You still need to click the preset to apply it to the photo just as before, but this makes it a lot easier to find one you like. There’s also a bunch of new presets for you to explore.
Not to take away from all the nice things, but these changes did take managing presets back a few steps. We used to be able to right-click a custom folder (or the User Presets folder) and access a contextual menu for creating new folders, but that is gone. Contextual-clicking any custom preset folder only brings up an Import menu option, so there is no way to rename preset folders within Classic at the moment.
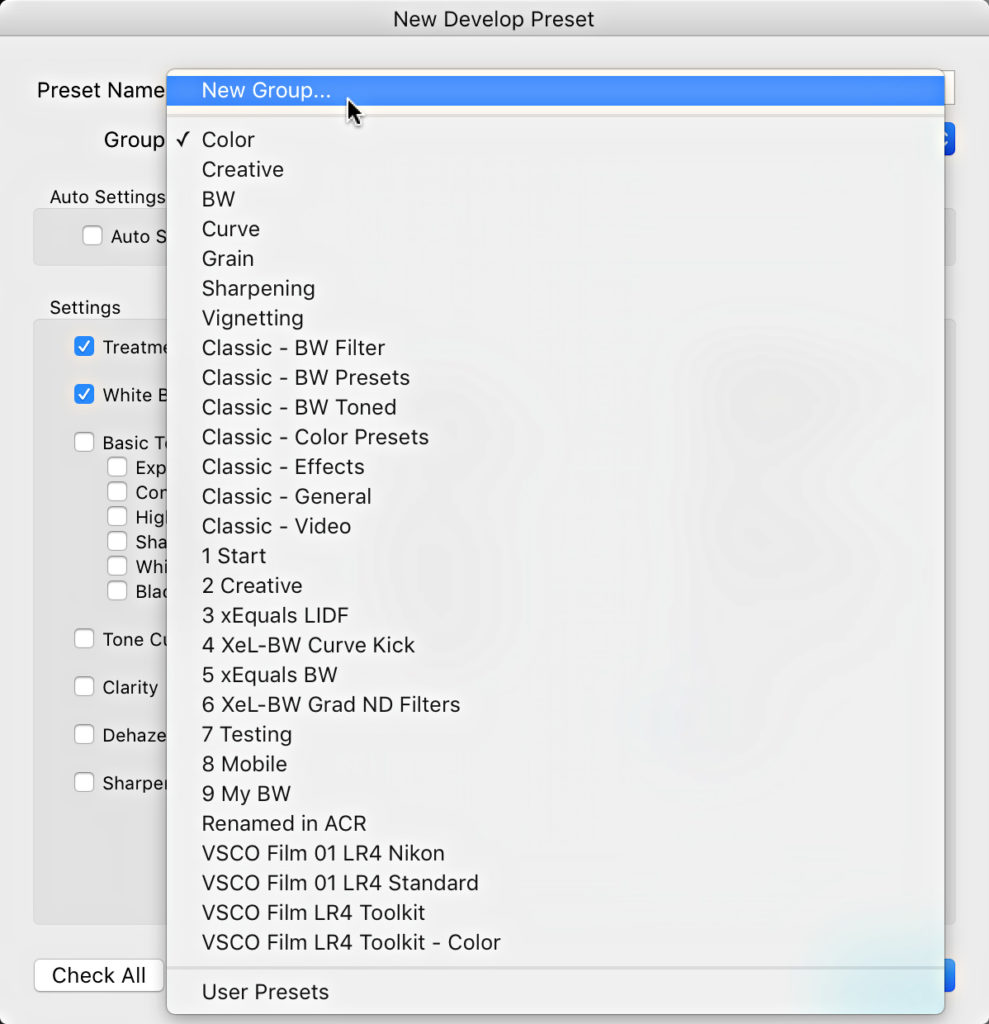
As far as I can tell, the only way within Classic to create new preset folders is to create a new (dummy) preset, and within the New Develop Preset dialog, you can click the Group drop-down menu and choose New Group to create a new group/folder for your new preset. Once the preset is created, it will be in the new folder you created at the same time. You can then drag and drop presets into that folder as needed. Note, empty folders disappear, so don’t get rid of your dummy preset until you put others in that folder. You can use this convoluted process to rename a folder by creating a new folder with the renamed-name, moving presets into that new folder, and the empty folder with the old name goes poof.
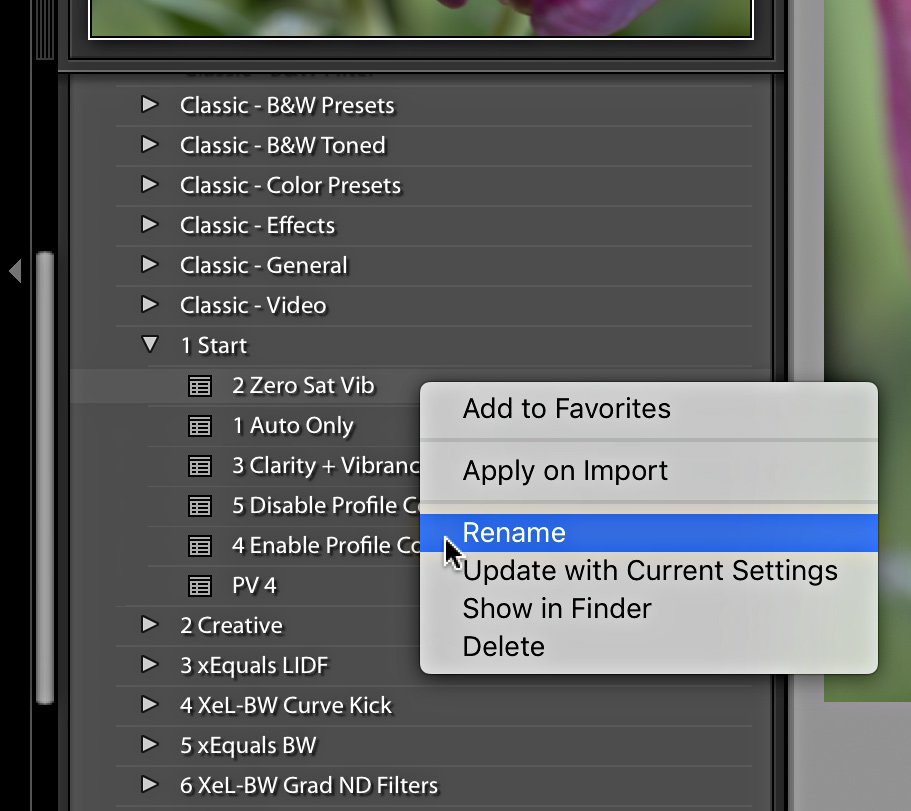
Thankfully, you can still access the contextual menu on individual presets.
The way presets and preset folders sorted has also changed. In 7.2 and earlier I had a set of preset folders named with a leading number to make them sort to the top of the list, and keep them in the order I accessed them. This worked great for keeping them above the fray and within easy reach. Sadly, post update all custom preset folders appear below the Adobe pre-loaded preset folders. Luckily, I found a way to (sort of) work around that by marking certain presets as Favorites.
To mark a preset as a Favorite, control-click the preset (PC: right-click) and choose Add to Favorites from the contextual menu. This adds the selected preset to a Favorites folder that appears at the very top of the Presets panel. Once I added all my go-to presets to Favorites I renamed my presets with a leading number to sort them into an order that makes sense to my workflow. In practice, this works as well as my old system, but it did take a bit of tweaking to get it close to the way I had it (I actually had to rename them twice, once to remove the number, and a second time to add the number back to make it sort).
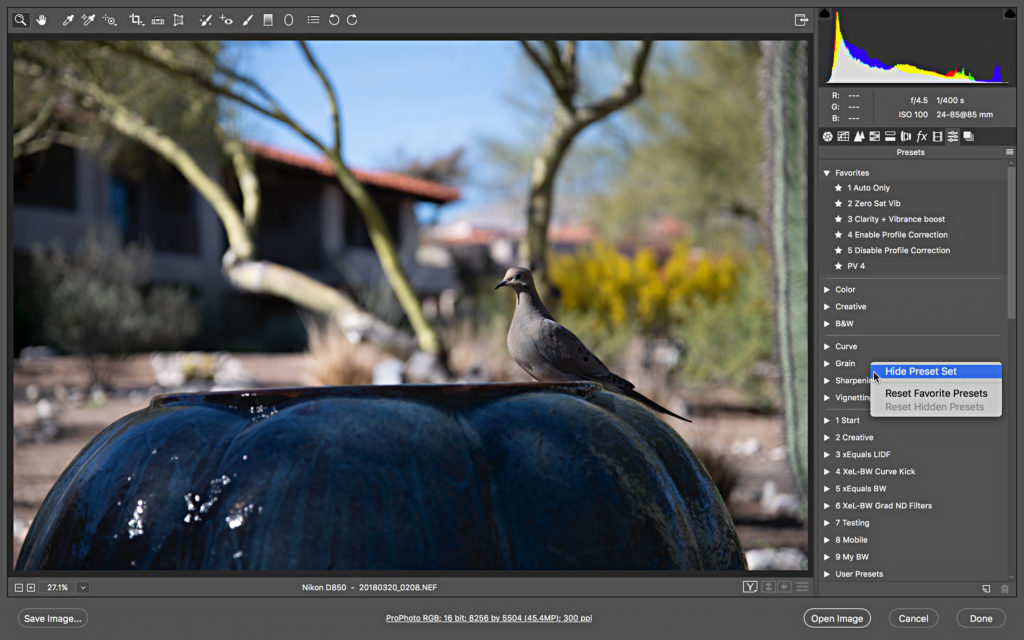
An alternative management solution is to utilize the Camera Raw (ACR) plug-in’s preset tab. Since the presets are shared between the two programs any changes you make in ACR should reflect back in Classic (after a restart). The contextual menu in ACR on custom preset groups provides the ability to rename them, delete them, and even hide them (the pre-loaded groups can only be hidden). So, if there are preset groups that you never use, you can head over to ACR, click the Presets tab, contextual-click a preset group and hide it from both programs. There’s even a Reset Hidden Presets option to bring them back if you change your mind (or hit the wrong one by accident). I hid the Grain and Vignetting groups to start.
Note, this assumes you’ve updated Camera Raw to 10.3.
Now, I’m not saying these workarounds are ideal (they are not), and my hope is that the functionality we see in ACR will at least make its way into Classic at some point in the future, but for now, this is the way it seems to be. I’m sure there’s more to discover here, so share any tips you’ve found.

