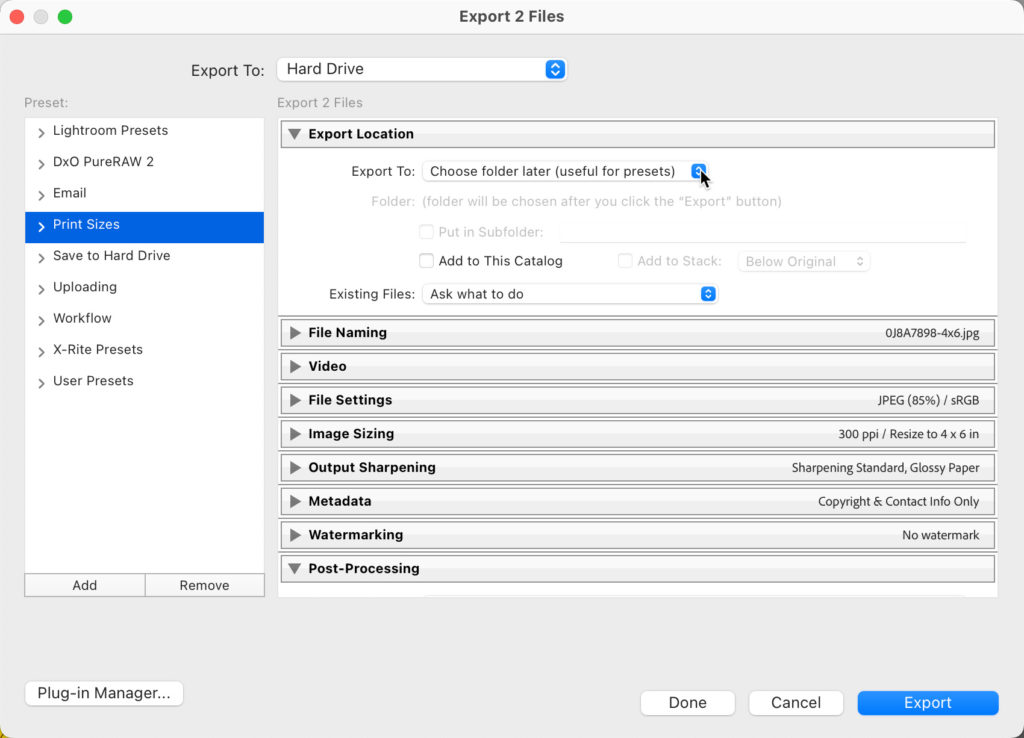
Lightroom Classic (LrC) makes a great home base for your photo library, but a common question comes up in the form of how to best share those photos with others for viewing and possibly even downloading and printing. There are actually a few options to consider depending on your needs and the needs of those you are sharing with, so I thought i’d devote a blog post or two to covering what those options are and how to utilize them from LrC. The first and most obvious method is the good old Export dialog.

Being ready to share your photos implies that you’re done with editing and ready to move to output, so let’s assume your photos are looking their best and ready to go. The reason I’m starting with the Export dialog is that this is where the rubber meets the road, meaning that up until this point all of your edits exist only as instructions waiting to be applied to the source image data and then channeled through whatever output settings your situation requires. The act of exporting is the act of creating copies that bake in your edits as well as conform to the file size, file type, color space, etc., settings you choose for how these copies will be created.
The beauty of Lightroom Classic in this regard is that since the data in your source photos is never changed you can edit to your hearts content, then as needed, export copies with specific settings for a given situation, and continually export new copies based on any future situations that may arise using different settings. For example, you might have one export sharing situation that calls for copies large enough in pixel dimensions for being printed at a given size and another sharing situation that calls for copies small enough in pixel dimension to be easily shared via email and on-screen viewing only. There are many other situations and scenarios that you will face that require changes in file type, pixel dimensions, color space, and so on.
Typically, the first part of sharing from LrC involves creating the copy that will be shared. Once that copy is created your next decision will be the method in which those copies will be shared with the recipient, and we’ll look at those in a future post. For now, back to a few scenarios for configuring the export dialog.
Scenario 1: Creating copies large enough to be printed at a specific size
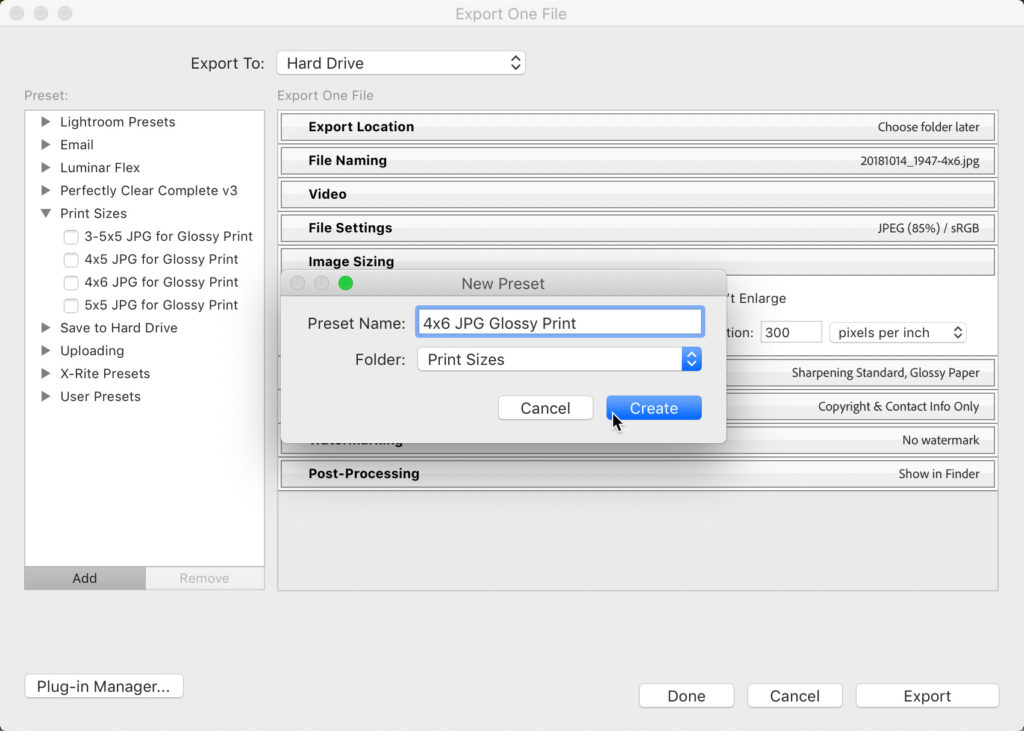
I’m still a big fan of printing photos, so I’m advocating for this scenario by putting it first. I’ve actually already written an entire blog post devoted to exporting copies at different sizes for print, so head there to see the details and how to configure the export dialog accordingly.

Scenario 2: Creating copies to be sent as an email attachment
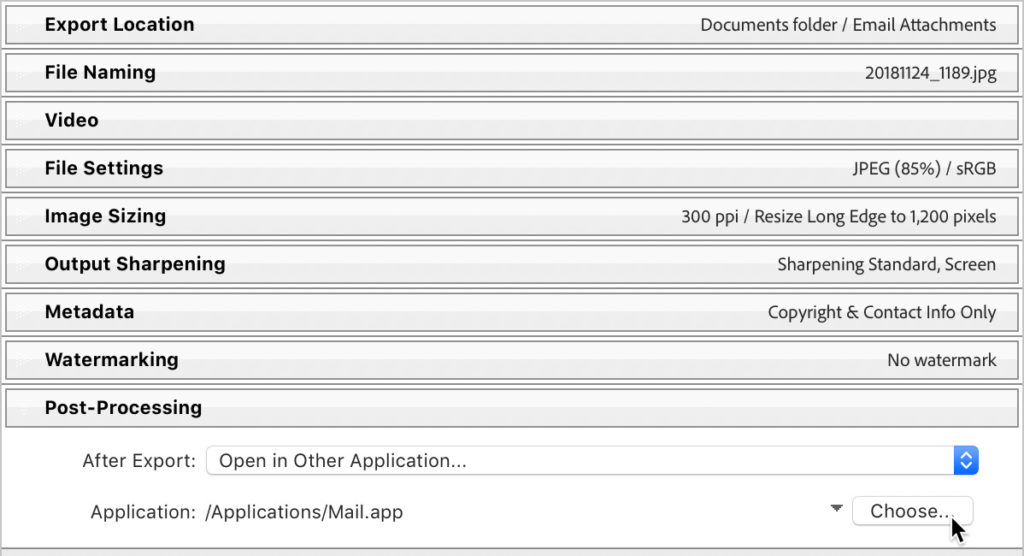
Sending a photo or two as an attachment to an email is a tried and true method of sharing with a targeted audience. Due to file size concerns these copies will benefit from being smaller in pixel dimension and more highly compressed than the copies created for printing, and as such, require different settings on the export dialog.
LrC has a built-in function for sending an email right from LrC, but over the years I’ve found that simple command to be a bit flaky and sometimes suffers from changes to operating systems, email clients, and even LrC itself. As such, I wrote a blog post detailing an email workaround that should be more reliable and provide the same results.

As you can see, the export dialog is hugely powerful feature of LrC that can be configured for any situation that your output needs might require. It just may take a bit of experimentation to home in on the specific settings that meet your situations requirements and your taste for quality, but once you find the sweet spot, you save it as an export preset and you are good to go over and over again.
Next week we’ll build on our knowledge of exporting copies to look at various delivery methods for sharing small and large numbers of files.


